By following this detailed process, you will successfully transition your delicate indoor pepper seedlings into robust, sun-loving outdoor plants ready to produce a fiery harvest.

Before diving into the "how," it's crucial to understand why this process is non-negotiable for healthy plants.
Your indoor pepper plants have been living in a paradise of controlled conditions. They are, in essence, delicate hothouse flowers.
Sunlight Intensity: The sun's UV radiation is exponentially stronger than even the brightest grow light or sunniest windowsill. A plant that goes directly from indoors to full sun will suffer from severe sunburn. The leaves will turn white or bleached, then brown and crispy, and the plant will be severely stunted or may die.
Wind Stress: Indoor air is still. Outdoor wind puts mechanical stress on the plant's stems and leaves.
This stress can cause the plant to lose moisture rapidly (transpiration) and physically damage tender stems that haven't developed the structural strength to withstand it.
Temperature Fluctuations: Indoors, the temperature is stable. Outdoors, temperatures can swing wildly from day to night.
A sudden cold snap can shock or kill a plant that isn't acclimated.
Reduced Humidity: Homes are typically more humid than the outdoors in spring.
This sudden drop in humidity accelerates water loss through the leaves.
Hardening off is the gradual, systematic process of toughening up your pepper plants by slowly exposing them to these elements, allowing them to build up physical and physiological defenses.
The key is gradual exposure. The entire process should take between 7 and 14 days, depending on your climate and the toughness of your plants. Always err on the side of caution.
Pre-Hardening Off Preparations (1-2 Days Before)
Stop Fertilizing: About a week before you begin, stop feeding your plants. You want them to focus on building resilience, not pushing out new, tender growth.
Water Less Frequently: Allow the soil to dry out slightly more than usual between waterings.
This encourages the roots to grow stronger in search of water and makes the plant less susceptible to overwatering during the transition. Do not let the plant wilt completely.
Check the Forecast: Plan your start date around the weather. Do not begin the process if a cold snap, frost, torrential rain, or high winds are predicted in the next week.
Ideal conditions are overcast skies with mild temperatures and light breezes.
Location: Choose a fully shaded, protected location. A covered porch, the north side of your house, or under a shady tree are perfect.
Duration: 1-2 hours during the gentlest part of the day (late morning or early afternoon).
Action: Place your plants outside. After the allotted time, bring them back indoors.
Goal: Introduce the plant to outdoor air, breezes, and different humidity levels without any sun stress.
Location: Move the plants to a location where they will receive more direct morning sun.
Duration: 5-6 hours outdoors.
Action: If the nighttime low is consistently above 50-55°F (10-13°C), you can start leaving them outdoors overnight in their protected spot.
If it's colder, still bring them in.
Goal: Build up their sun tolerance for longer periods.
Location: Gradually move the plants into a spot that receives nearly a full day of sun, but avoid the most intense, direct afternoon sun for a couple more days.
Duration: Leave them out from morning until evening.
Action: They should now be staying outdoors 24/7, as long as temperatures permit.
Goal: Get the plants used to the full duration and intensity of a spring day.
Location: Place the plants in their intended final planting spot, if possible. This exposes them to the exact light and wind conditions they will face.
Duration: Leave them out 24/7.
Action: They should now be fully acclimated and ready for transplanting.
Goal: Confirm the plants are tough and ready for permanent life in the garden.
Be vigilant. Your plants will tell you if the process is too fast.
Signs of Sunburn: Leaves turning white, yellow, or bleached, especially on the edges.
Solution: Immediately move the plant back into deep shade for the rest of the day and reduce sun exposure by a step or two for the next couple of days.
The damaged leaves will not recover, but the plant will survive and grow new, acclimated leaves.
Signs of Wind Damage: Stems bending or breaking, leaves looking tattered and torn.
Solution: Move the plant to a more sheltered location, perhaps behind a windbreak of other plants or a structure.
Signs of Wilting: Leaves drooping significantly.
Solution: This could be from too much sun/wind (transpiration) or from the pot drying out too fast.
Check the soil. If it's dry, water it thoroughly. If it's moist, move the plant to the shade for a few hours to recover.
Drooping at Night: If the plants look fine during the day but droop severely after being left out overnight, it's a sign the nighttime temperature was too low.
Bring them in at night until it warms up.
Once your plants are fully hardened off, it's time for their final move.
Choose the Right Day: Transplant on an overcast or cloudy day. If you must transplant on a sunny day, do it in the late afternoon to give the plant a night to recover before facing the full intensity of the sun.
Prepare the Soil: Ensure your garden bed has rich, well-draining soil amended with compost.
Water Thoroughly: Water the plant in its pot and the planting hole in the ground well before you begin.
Plant Carefully: Gently remove the pepper plant from its pot, trying to keep the root ball intact.
Place it in the hole at the same depth it was growing in its pot.
Backfill with soil and press down gently to secure the plant.
Water Again: Give the newly transplanted pepper a deep watering to help settle the soil around the roots.
Provide Temporary Shade (Optional but Recommended): For the first 2-3 days after transplanting, provide some temporary shade during the hottest part of the day.
You can use a shade cloth, an old sheet, or even a chair positioned to block the sun. This helps prevent transplant shock.
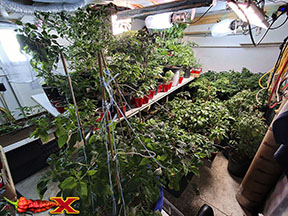
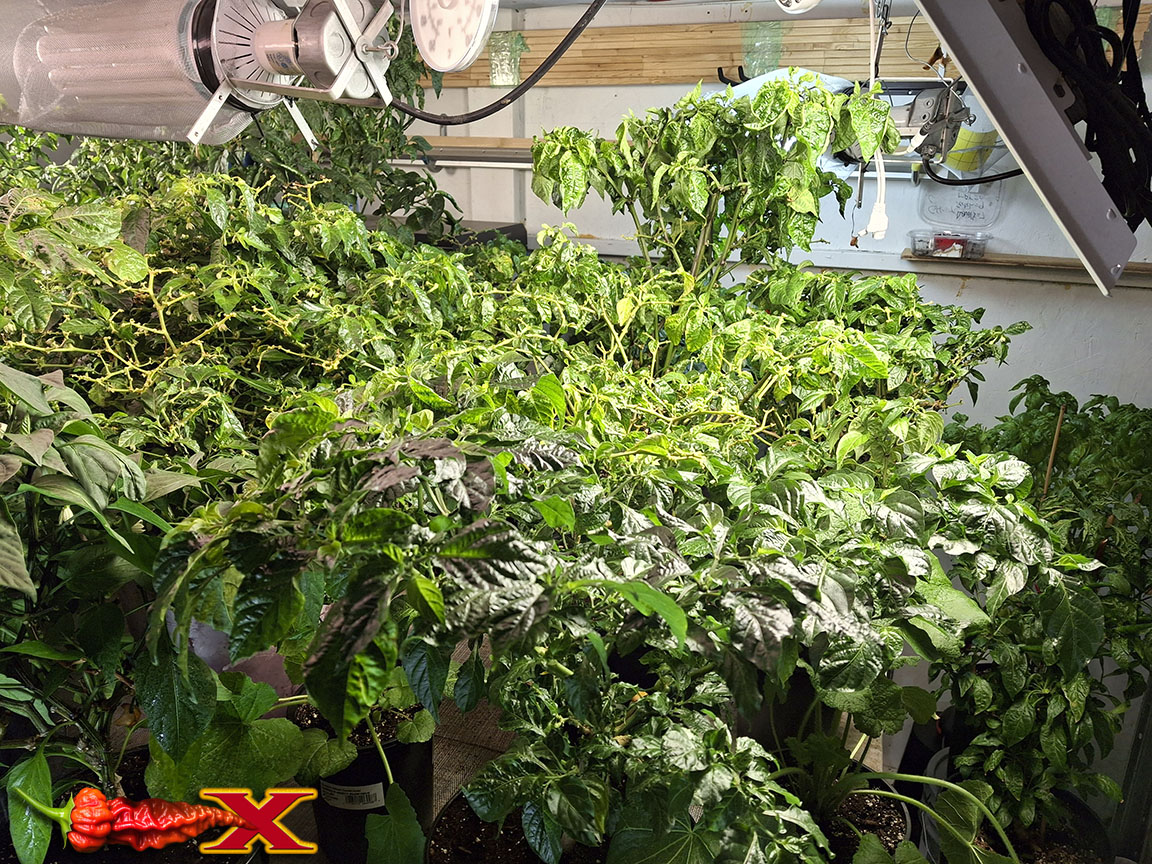
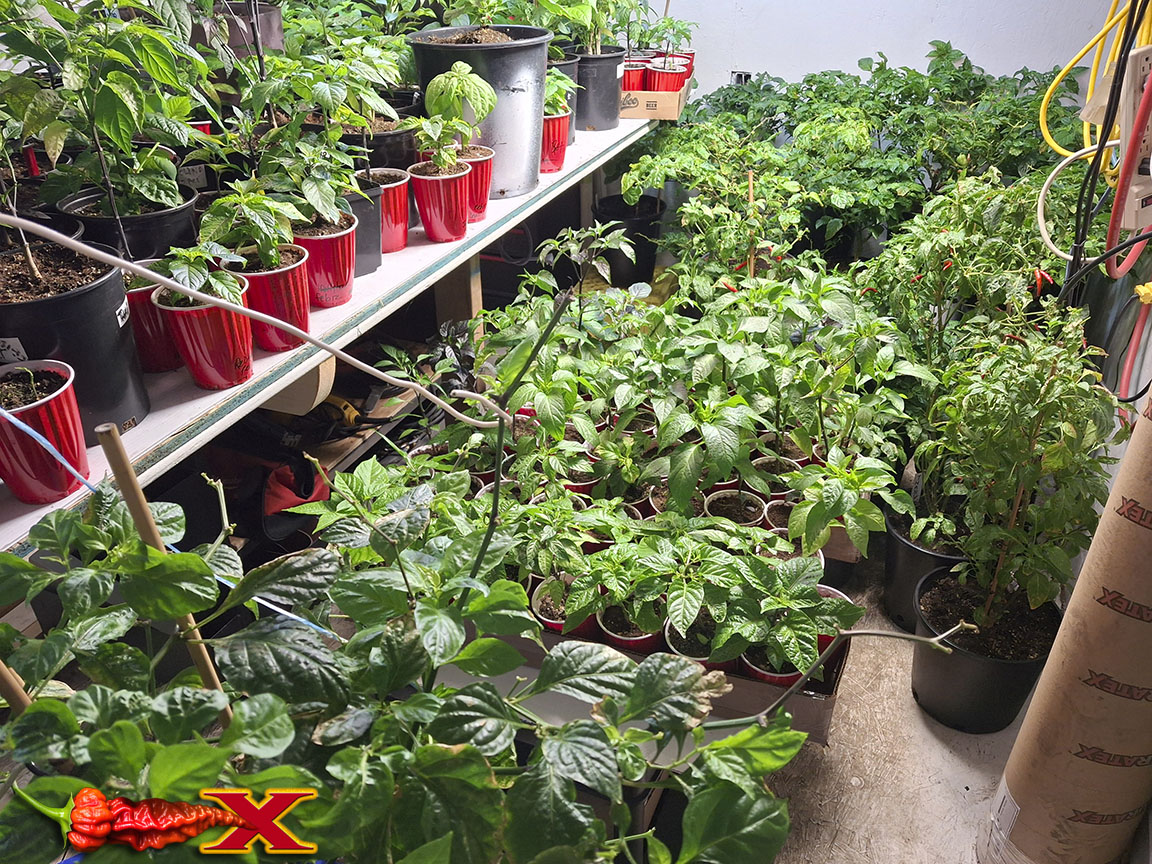
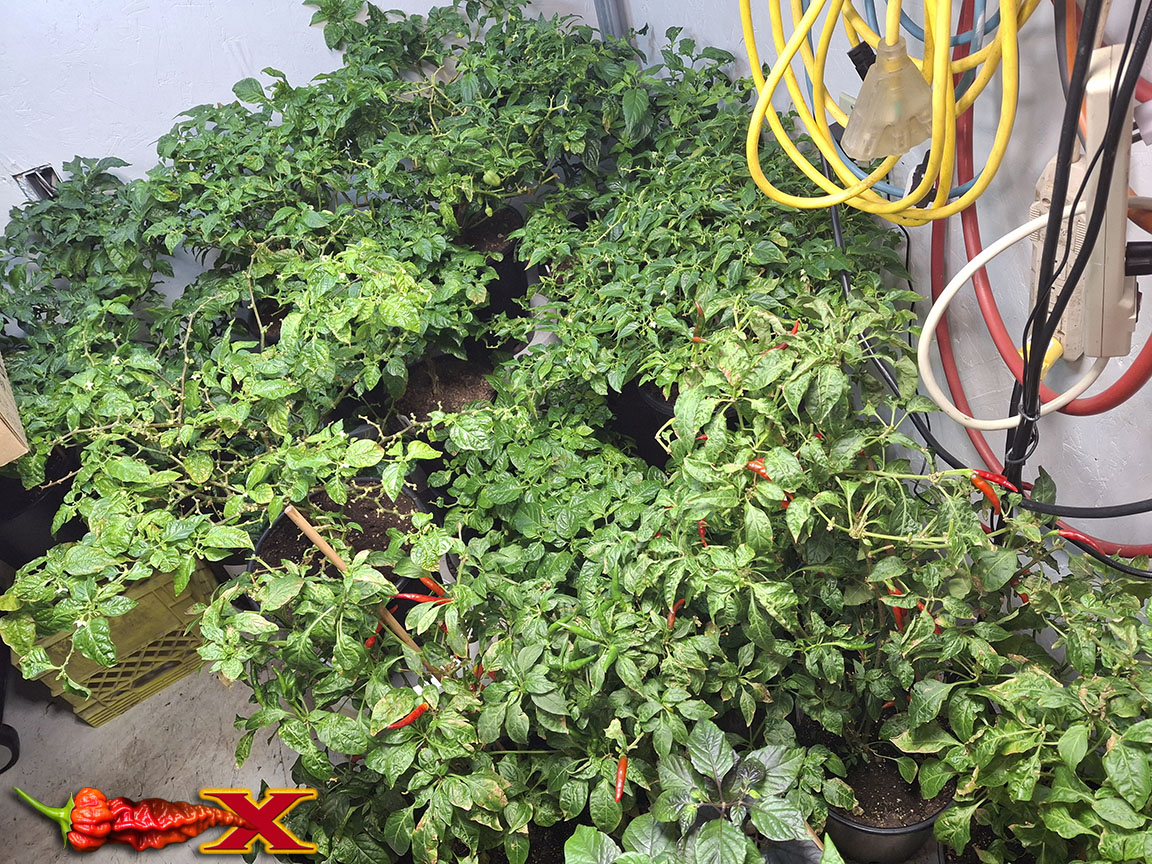
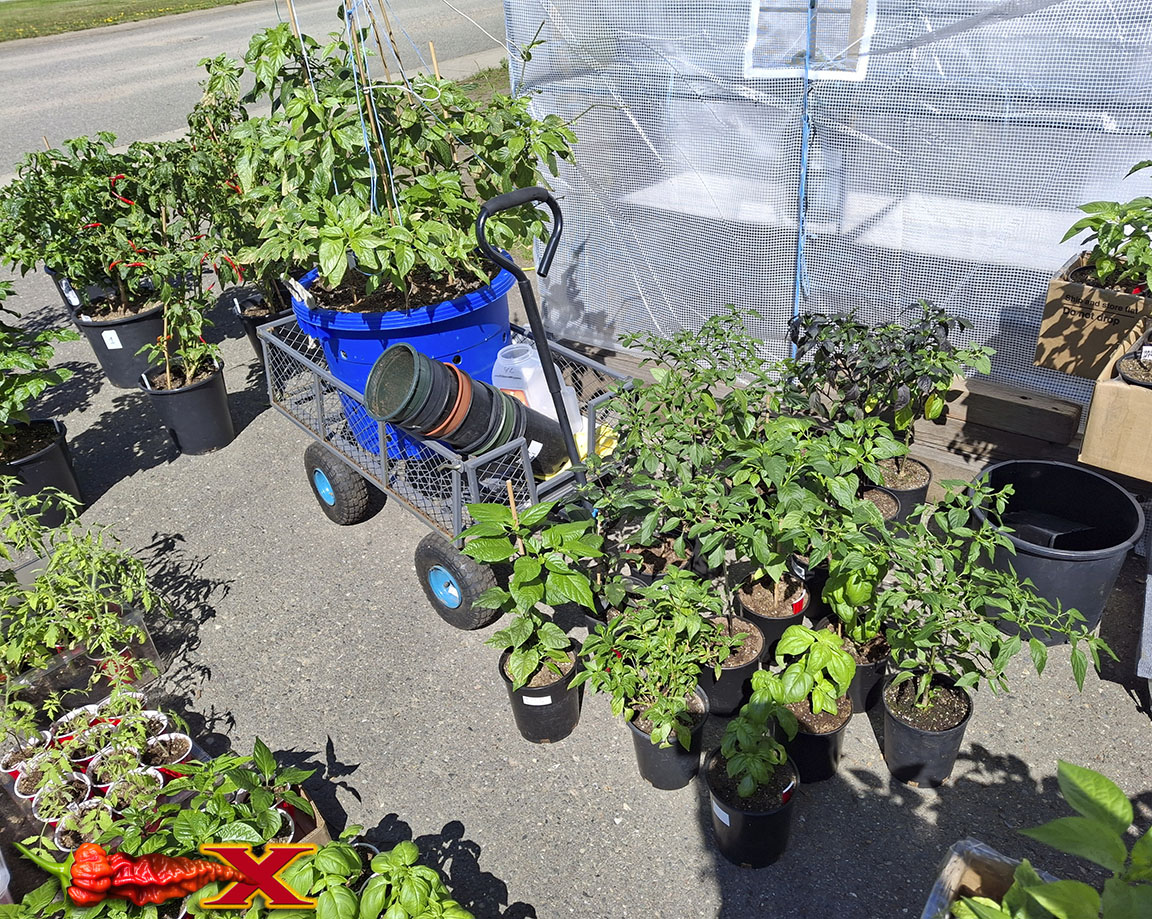
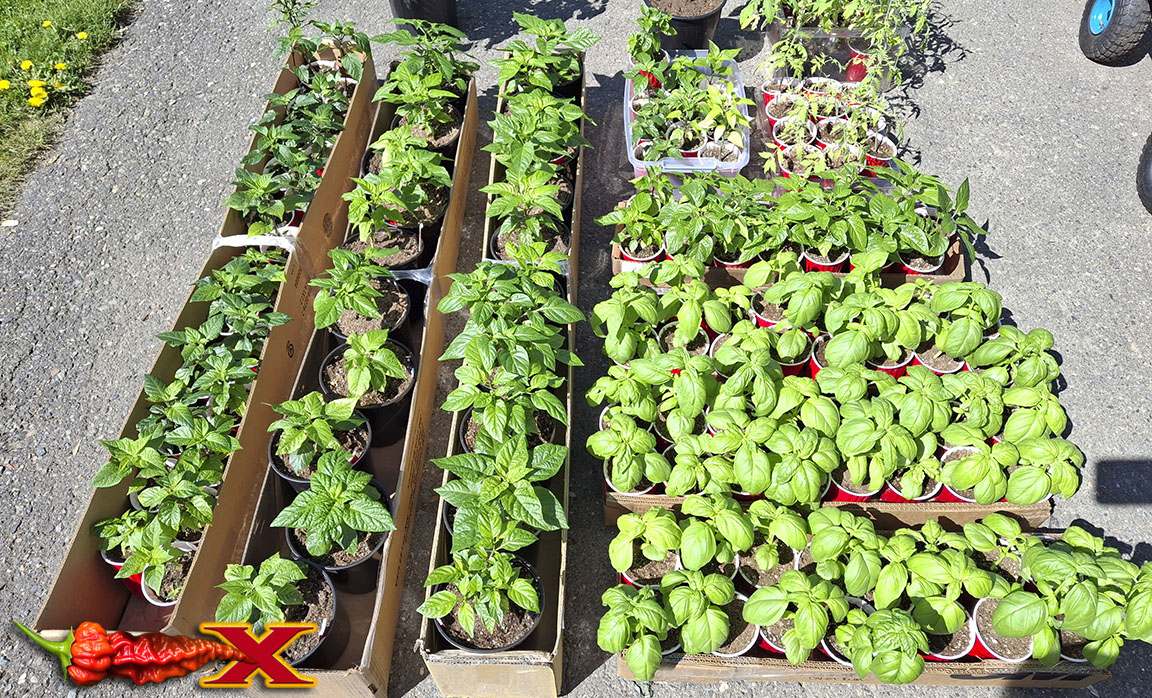
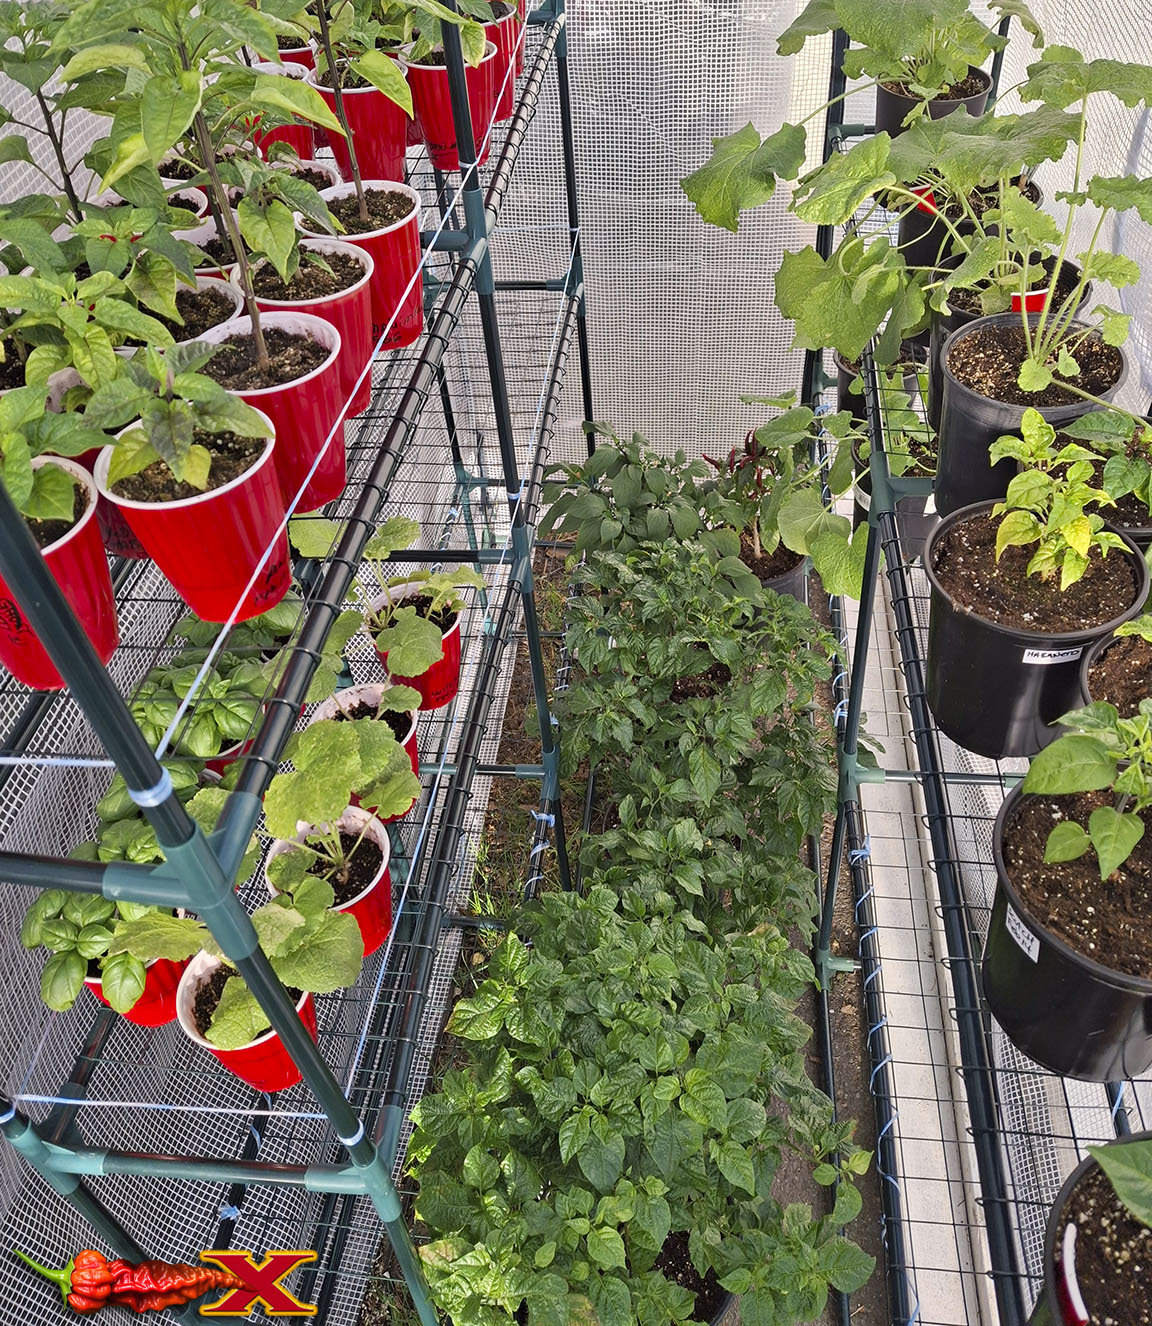
These pepper plants are going through the hardening process.
Out in the daytime...
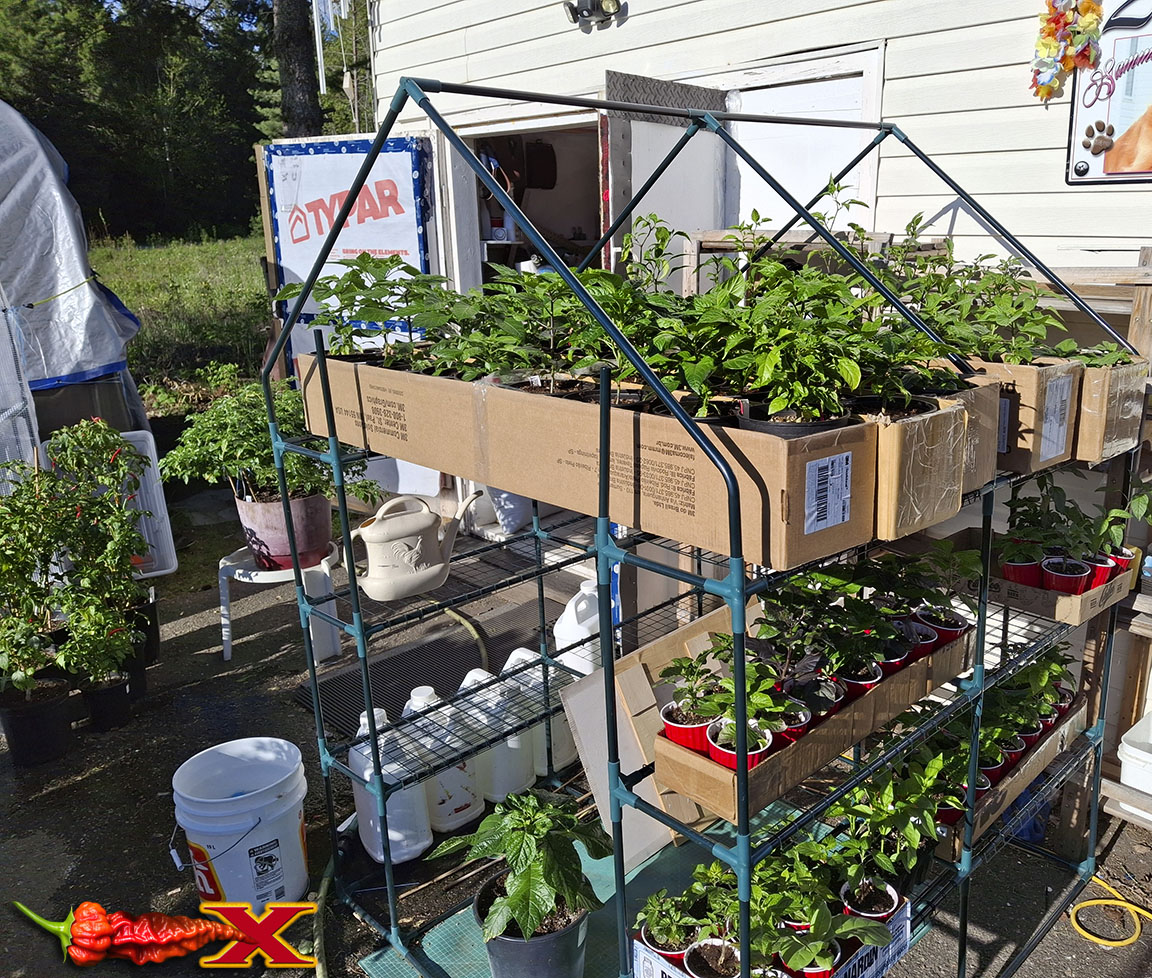
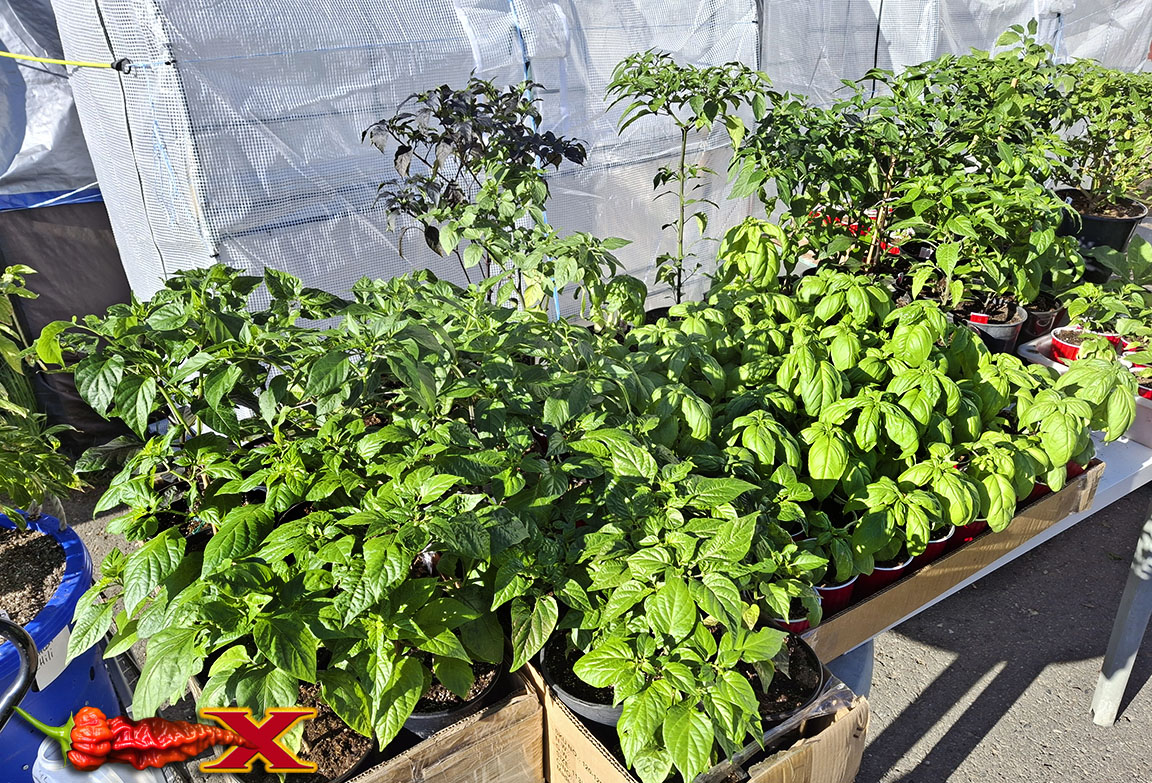
...back inside at dusk.